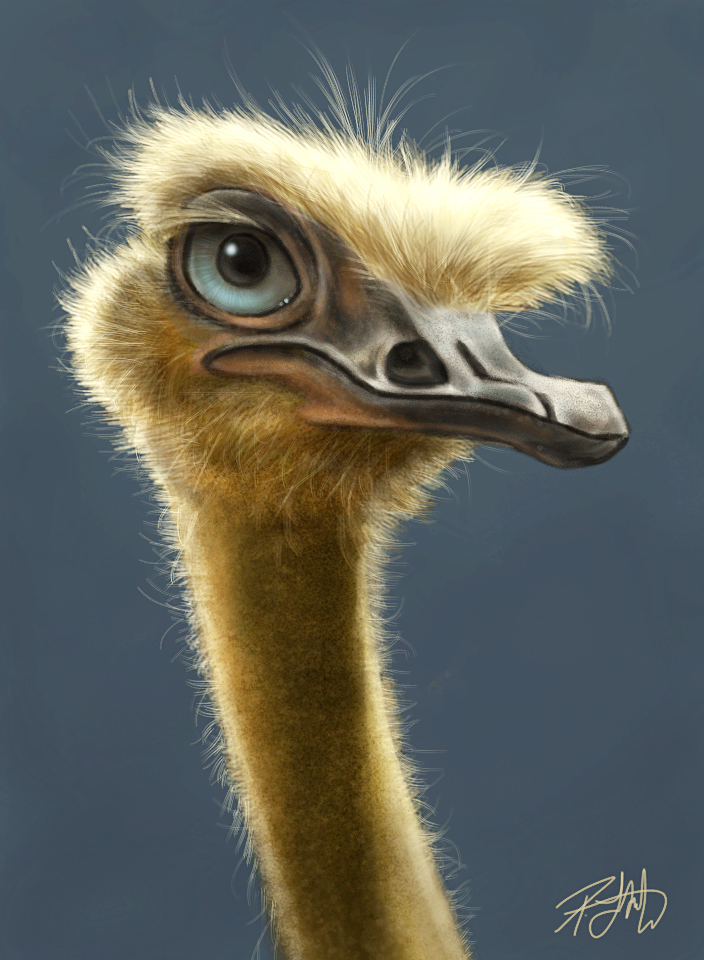
 Here’s another painting I did on the iPad over a period of three or four days. This is the kind of thing I like to do while sitting watching TV, as it’s not on deadline and is just fun to work on.
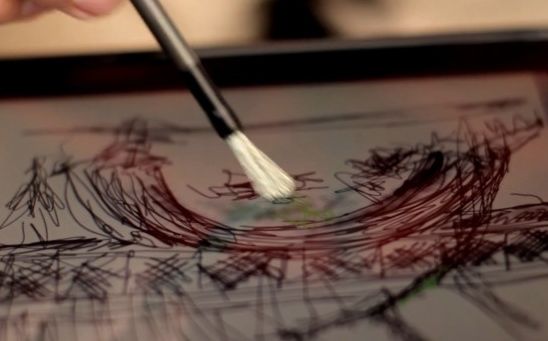
This was painted using the Procreate app, the Wacom Bamboo Stylus and the Nomad mini brush, which arrived last week. While I’m very happy with the Wacom, I’ve been seeing ads and reviews for the Nomad brush around the net and I thought I’d give it a try. Because I like having everything portable, I bought the mini brush instead of the longer ones and I really enjoyed working with it. It doesn’t really do anything I can’t do with the Wacom stylus, but when it came to working on the little hairs and some subtle shading, it was more enjoyable to work with as it glides over the screen a lot easier than a traditional stylus.
 I wouldn’t want to be limited to only the Nomad brush, however. While it’s great for painting, I don’t like it for drawing, but then, it’s not really designed for that anyway. After finishing this painting using the Wacom and the Nomad, I’m going to continue to use them both. They each have their strengths and I enjoyed using them both on this painting. The only downside of the brush is that you want to be careful not to squash or wreck the bristles by leaving it lying around. I was thinking that a little cap would have been a good thing to include with this brush/stylus. But then again, I’d probably lose the cap, so it’s probably fine the way it is.
When I’m using the iPad, I have the brightness set to 50 percent. Because I spend so much time in front of the computer, the brightness of my desktop monitor is set pretty low as well. I plan to preserve my eyesight as long as possible, so I try to minimize my exposure to bright light. The downside of working on the iPad is that it means making adjustments for that before posting. There are a few apps out there that will make color and brightness adjustments but I’m still getting used to how far I have to push things to get them to look right online. It’s an ongoing process, but I’m learning.
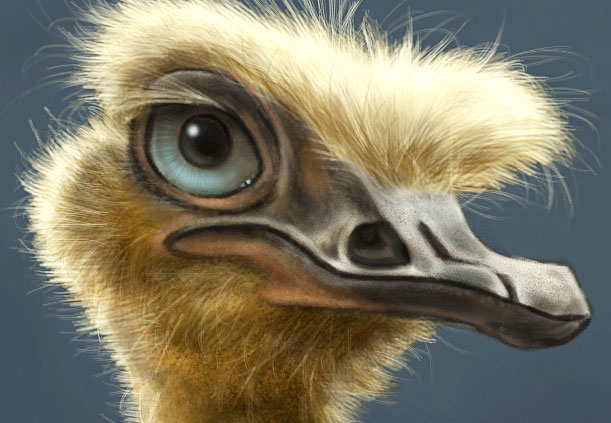
This close-up is actual pixels, 72 ppi, so you can see that this is one of the limitations of working on the iPad. I have the first generation iPad, and I know the 2nd generation has better resolution, so you’ll be able to get a little more detail, but not a lot more.
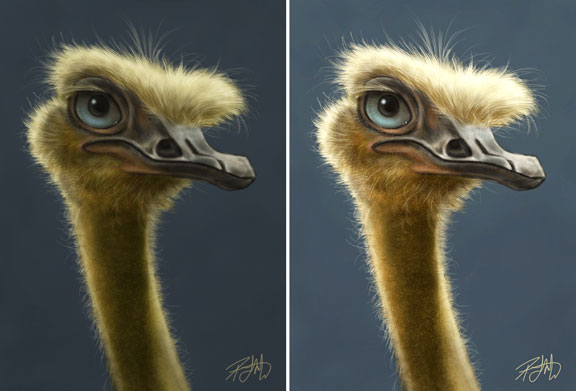
So, in the interest of full disclosure, I did bring this into Photoshop for some color adjustment. Every monitor is going to be different, but mine is calibrated and the color I saw on the iPad is not what it looked like when I emailed it to myself in order to post it. So while all of the brush work was done on the iPad, I did do a Hue/Saturation and Levels adjustment on my desktop. I also used a bit of Smart Sharpen. Here, you can see the difference side by side. While the one on the left is what I got from the iPad in my inbox, the one of the right (after adjustments) more closely resembles what I was seeing on the iPad when I was working on it.
 The iPad will not replace my Wacom tablet and Photoshop anytime soon, so you might wonder why I bother. It really is just for the fun and the challenge of it. I’m enjoying seeing just how far I can take a painting before I can’t go any further. This is equivalent to painting in low-res in Photoshop and that translates directly to my more detailed paintings because they all start in low-res. Working on the iPad with limited tools and resolution does end up making my more detailed work better because it forces me to do my best on the foundation of the painting before working on the fine details.
While I intended this to end at being an iPad painting, I’m toying with the idea of bringing it into Photoshop, bumping up the resolution and making a full size, full resolution painting out of it, because I know I can take it further. It’ll mean working a number of more hours on it, but I think the end result might be something I’ll be proud of.


Patrick! HA ha I LOVE this one. amazing my friend.