 My buddy Darrel has been my oldest and closest friend for more than twenty-five years. We both went to school in Germany around the same time and he now lives in Red Deer, which is where I went to high school and college. Our parents have been friends for so long, that his Mom and my Dad went to school together as kids in France when they were base brats. We have a lot of shared history.
Darrel and I don’t get together as often as we’d like, but when we do, it’s often camping for a few days.
Ask a bunch of Albertans where they love to go camping, most will answer, “the mountains.” Who can blame them? I live in the mountains and the views are spectacular. But every summer, especially on weekends, it fills up with tourists. When everybody else is coming here, we’re most often looking to get out. Or we go into hiding.
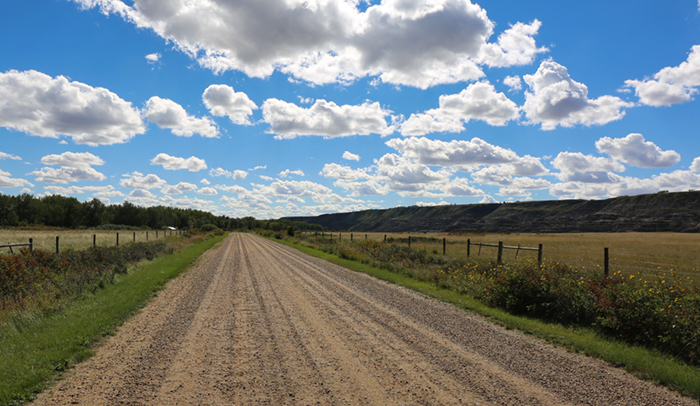
Darrel and I have gone camping in a few different places in Alberta, but more often than not, we end up at a small campground in the Badlands, northwest of Drumheller. It’s a different landscape, provides us each with a change of scenery, and amounts to about the same drive time for both of us.
Alberta weather hasn’t been great this summer, but this late in the season, camping is always a gamble. With kids back in school, it means a lot less people, however, so it’s often worth the risk.
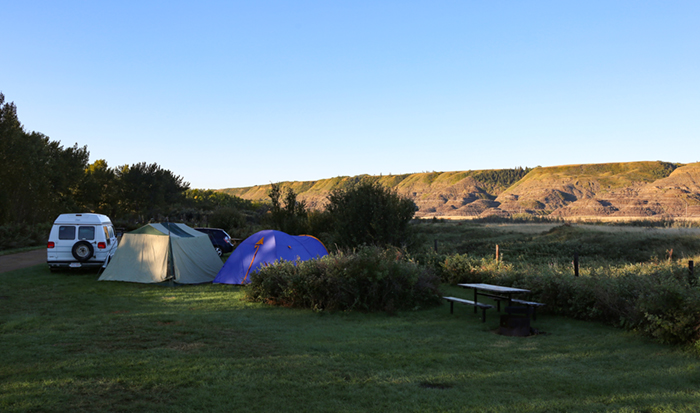 Arriving on Thursday within a half hour of each other, we had the whole campground to ourselves. Though raining steady when we got there, we hung out in the cook shelter for a couple of hours, a couple of beers and some BBQ’d munchies, until the rain stopped and we were able to set up camp.
When my wife Shonna and I first bought our camping gear, she wanted a tent in which she could stand up. After initially dealing with leaking air mattresses and soggy foam pads, we then bought sturdy cots, something I highly recommend. Over the years, Shonna got tired of camping, as happens to a lot of people, but I still enjoy going out with the guys a few times a year. Not so many trips to make it worth investing in a trailer or camper, but enough to keep my gear in good order.
 In July, Darrel and I were in Drum for a camping weekend before he got married and we not only experienced a steady rain for about ten hours one night, but some of the hardest torrential rain I’ve ever experienced anywhere. Darrel sleeps in a camper van, but I like sleeping in the tent. After that much rain, I was pleasantly surprised that my thirteen year old tent hadn’t leaked. So while I have a smaller popup tent now that just fits the cot, if there is even a chance of rain, I bring the large one, even though it’s pretty big for one person.
This time of year, it’s quite chilly at night, but with multi-layered sleeping bags and blankets, I’m usually pretty comfortable.
 Darrel’s parents gave up camping a while ago, and from them he inherited an 11’ X 11’ dining tent. This one piece of kit has more than once been the linchpin of our camping trips. With mesh sides and nylon fold down flaps, it keeps the bugs out and makes a great shelter from rain and wind. Add to that my folding camp table, a couple of lawn chairs and our drink coolers, and we can sit in there for hours. When the mosquitoes are bad, as they were at times this weekend, it’s the height of camping comfort.
 Now, I don’t want to pretend we’re roughing it when we camp in Drumheller. We drive into town every day, go have a shower at the pool, have lunch at a pub, stop at 7-eleven on the way back. Hell, we even went to Wal-Mart on Saturday because I needed a new belt. While not quite fifth-wheel trailer glamping, we’re not living off the land. We just pretend we are.
This weekend, we dealt with rain and wind on the first night and then two days of warm weather with plenty of sunshine. On the third night however, as expected in the forecast, the weather turned downright nasty.
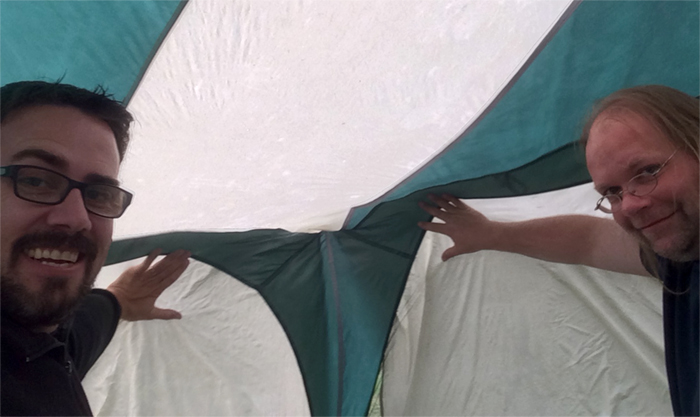
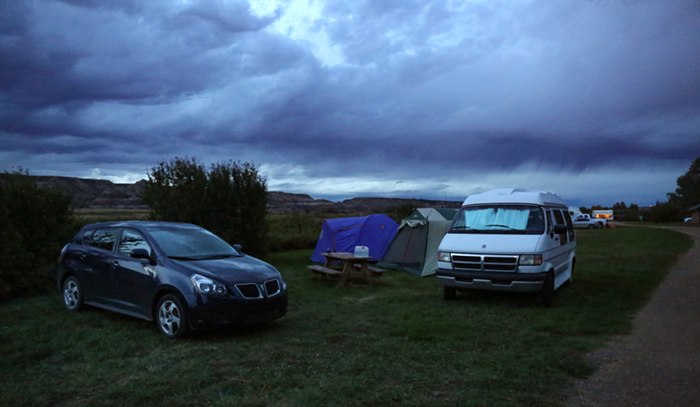 We saw the storm coming up the valley and with the forecast of 30-50 km/h wind gusts seeming to be accurate; the dining tent began to collapse under the force of it. For a good fifteen minutes, Darrel and I held up the tent from the inside as the leading edge of the storm arrived and overtook us. When it finally subsided enough, we set to work adding more guy-wires to the dining tent and it held.
 By the time we turned in, the weather hadn’t improved much, the temperature dropped and it was too windy for a fire. As expected, however, not a drop of water in my tent, so I still had a good night’s sleep. Despite little improvement in the weather by morning, we still managed to be in good spirits as we put our wet tents into black garbage bags for the trip home. Just took mine down from drying in the garage and packed it away until next year.
We all want perfect weather to go camping and when it happens, it’s very relaxing, a nice break and a welcome recharge of the batteries. But something that occurred to me on the drive home Sunday, those perfect trips aren’t the ones I remember most.
When weather turns bad, strange shit happens, the annoying neighbours run their generator for four hours, there’s car trouble, or unexpected challenges pop up, that’s where the stories are. Those are the trips you talk about later.
Years from now, Darrel and I will still be talking about the weekend of torrential rain this past July, when it fell so hard and fast that the dirt under our feet in the dining tent suddenly turned into a small river. We couldn’t even play Scrabble because water was leaking through the roof onto the table. It’s the rain with which we will compare all future rain.
“Could be worse. Remember that rain in 2016?”
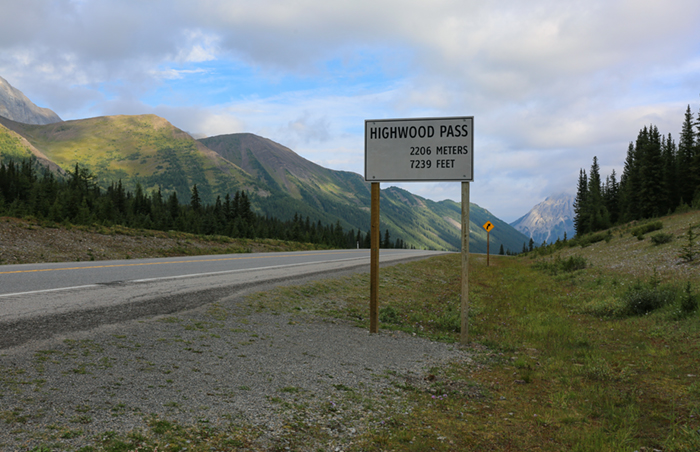
There was our trip to Nordegg years ago when not only did we have to drive back 45 minutes to Rocky Mountain House because I forgot the propane, but we cut the trip short a day when it snowed. The trip Shonna and I talk about most is the one to Kananaskis where we were so cold we bought new sleeping bags the week after. And while it was a pain in the ass at the time, right before we got to the lake in BC for the first camping trip of the season last year, I had to make a three hour round trip back to Invermere to get a flat tire repaired, while the guys carried on to claim our site. Those events, however, now define those weekends.
So we didn’t have perfect weather for the last camping trip of the year, but we had fun. And most important, it was memorable.
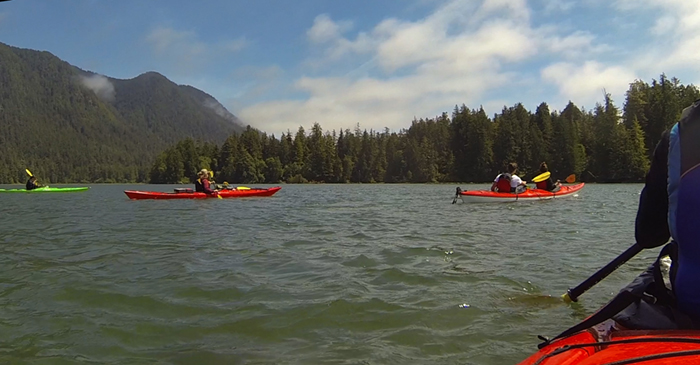
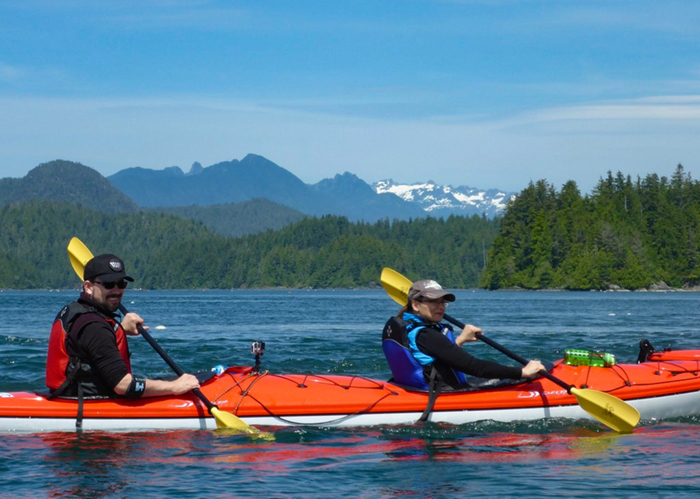
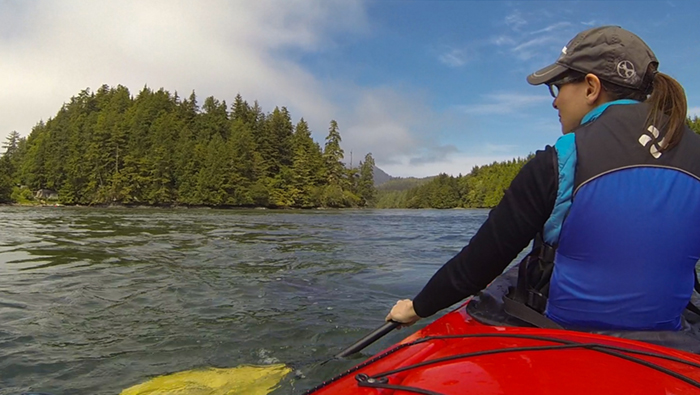
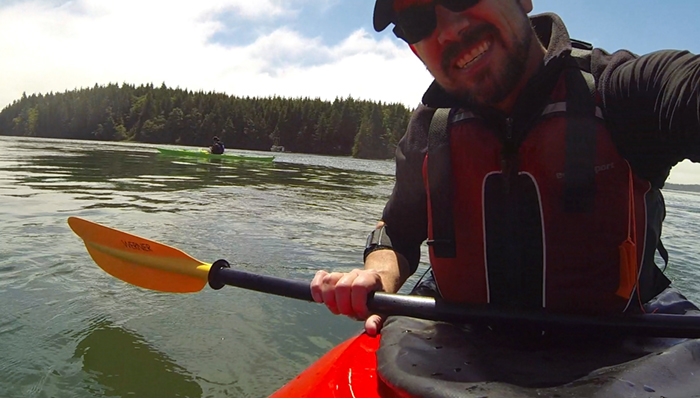
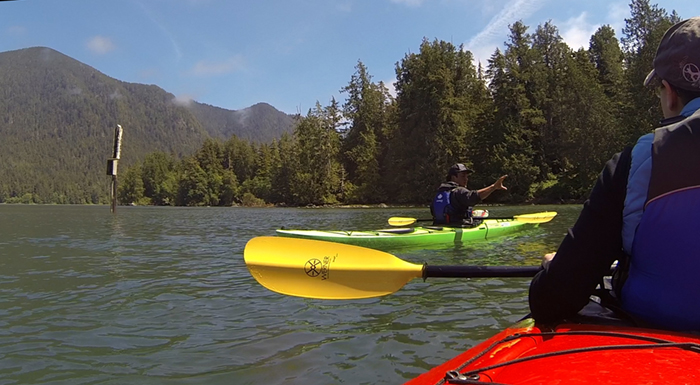

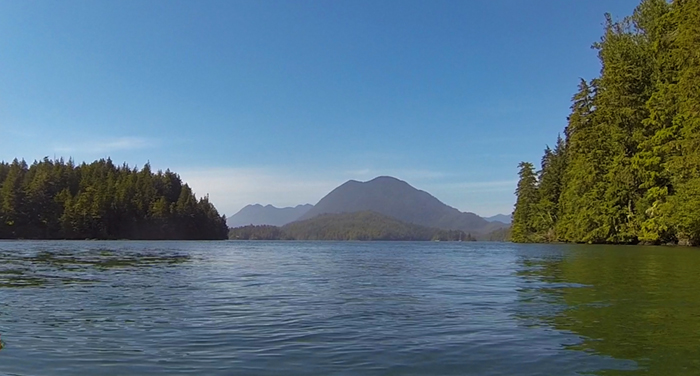


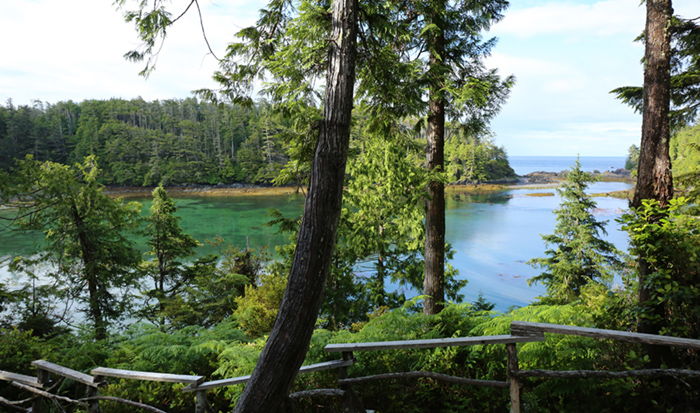
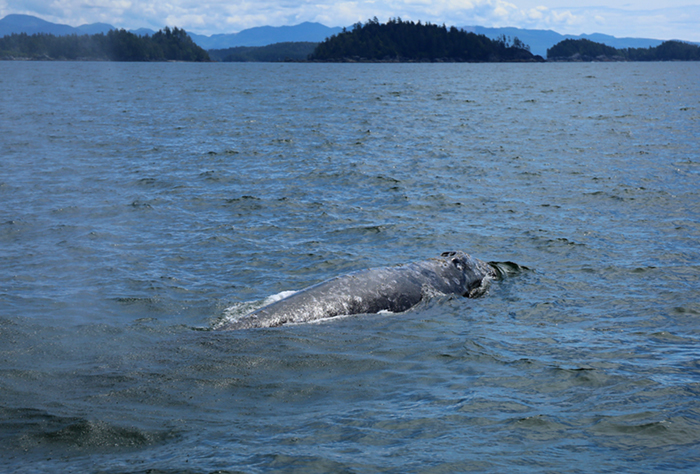
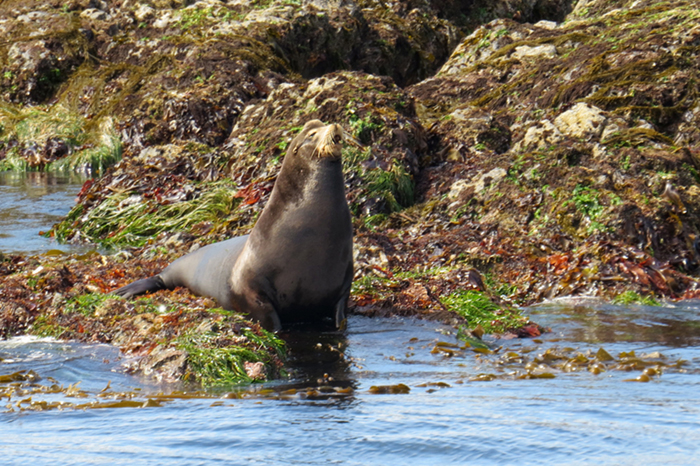
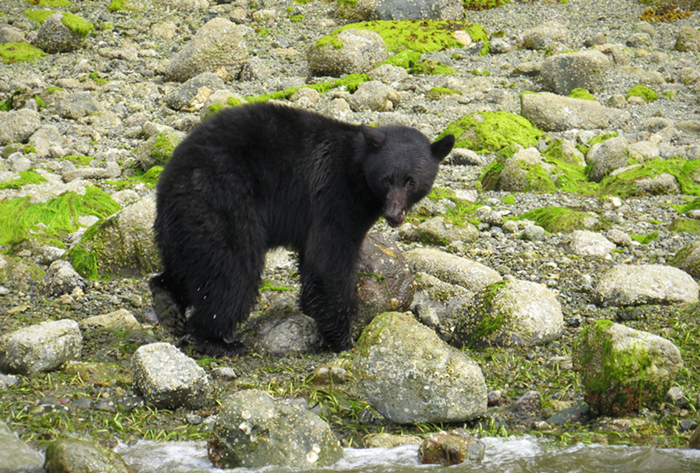
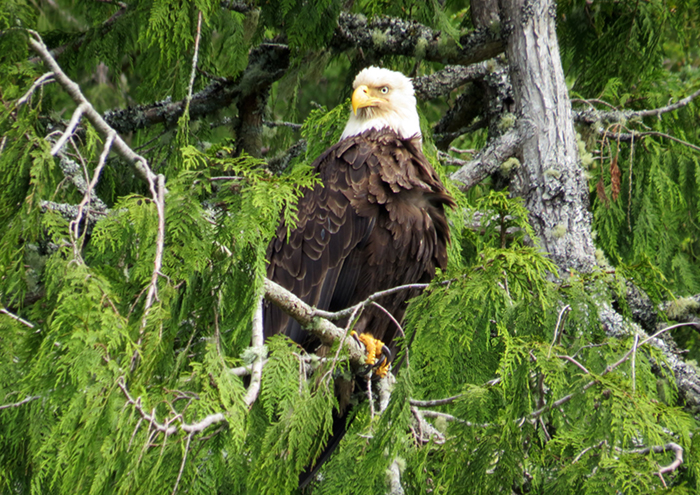
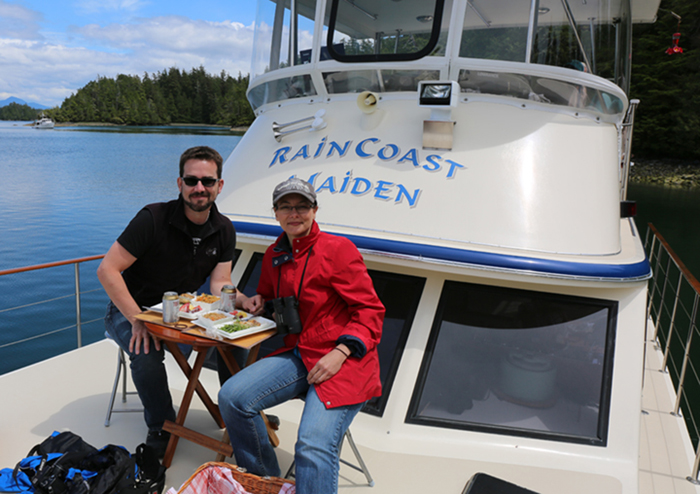
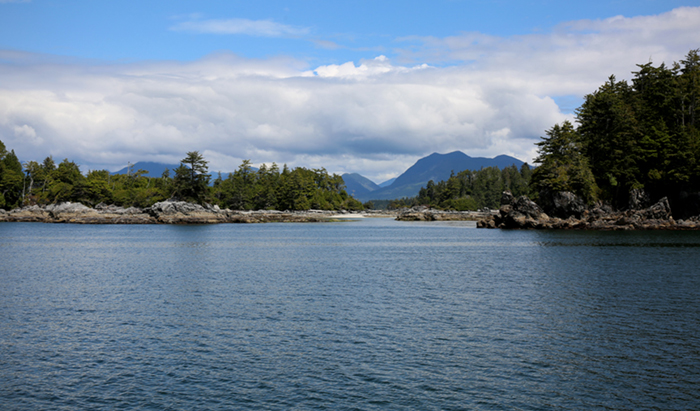 The Broken Group Islands with Archipelago Wildlife Cruises